Last spring, my computer desktops (both home and
work) were covered with icons. I had tried organizing by putting selected items
in certain areas, but that never lasted very long. A Pretty Organized Desktop at iheart
organizing inspired me to research other organized desktops.
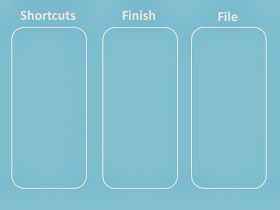
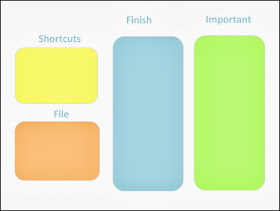
After finding great ideas and suggestions at JenniferKeegin Dot Com and The Ney Life, I created the following desktop wallpapers; the first for my work computer and the second for my home computer.
Some organized desktop wallpapers that I found were made with
Microsoft Paint and others with expensive photo software. However, knowing that
I just needed a photo to personalize my display, I chose to work with something
that I knew - Microsoft PowerPoint. Here are some of the wallpapers that I created
using Microsoft's backgrounds on a PowerPoint slide. You can download these
ready to use wallpapers and wallpapers that can be personalized by clicking here OR scroll down to see how to make your
own.
 |
| Choose a color for your background and add shapes with no fill. |
 |
| This was easily made by using shapes and text boxes. |
 |
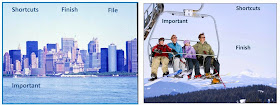
| These apple themed backgrounds were free, along with many other backgrounds, at Microsoft.com - just add category labels. |
 |
| Use favorite photos. |
To create your own organized desktop using Microsoft PowerPoint
- add a background to a PowerPoint slide - make sure that you are using the landscape orientation.
- Note that if this is going on a large screen (not a laptop), in PowerPoint, go to the Design tab and go to Page Setup. Under Slides sized for choose Ledger Paper.
- choose category labels
- select the font, font size, and font color
- save the PowerPoint as a JPEG File Interchange Format
On your computer*
- go to Control Panel
- under Appearance and Personalization choose Change Desktop Background
- find your saved background picture
- select Stretch under Picture Position
- save your changes and start organizing your desktop!
* These instructions were written for those using a computer with Windows 7. On computers running other versions of Windows or on Apple computers, follow the instructions for personalizing your computer's wallpaper.
If you are using two monitors or a have added a second
monitor to your laptop, the new desktop screen will show exactly the same on
both monitors (Unless you have Windows 8).
I didn't want to see a second set of
labels so covered the second set with the Sticky Notes found on Microsoft Windows 7. I love having my "To Do list," blog ideas, and
other important things to remember on my desktop!
This system has kept my desktops organized for almost
four months. However, I do have one important warning. Items on your desktop can
be easily lost if your computer crashes. As with all files, make sure that you
back-up frequently!
Diana
© 2013


I really love this idea and am going to implement it with my work laptop. Thanks so much for sharing!
ReplyDeleteThis comment has been removed by the author.
ReplyDeleteGreat post! Thanks for sharing this idea!
ReplyDeleteHi, Diana,
ReplyDeleteJust wanted you to know that I included a link to your post in my blog (http://speakingofspeech.blog.com/2013/08/31/my-to-do-list/), and also created a blackboard-style wallpaper for my school laptop. How wonderful to be so organized, and so easy to do. Thanks again for sharing the this idea and for all the other good info on your blog! Have a great school year!!
Pat Mervine, Speaking of Speech.com
Thanks Pat! I saw it and thought that I commented, but maybe not. It has been a busy September. I am glad that you were able to use the wallpaper idea. It's even better when you add the second monitor to your laptop!
ReplyDelete